Posted by Jennifer Sartell, Professional Homesteader & Blogger, Mon, Jul 13, 2015
If you’ve never milked an animal, put it on your bucket list!
Milking time is truly rewarding, and not just because you get a pailful of delicious frothy milk when you’re done but because it is one of the most bonding and personal experiences I’ve ever had with an animal.
Milking time is like a meditation for me. The quietness of the morning is sprinkled with the chirping of the swallows in the barn. I rest my head against the side of our doe on the stanchion and hear the soft gurgle of her rumen as she happily munches on grain. The methodical swish of the milk slowly fills the steel bucket, and for a while I can truly be present. Just me and my girl.

Milking Routine for Goats
After the kids are weaned and visibly eating hay, grain, and grass on their own, it is safe to collect all the milk your doe produces. Milking should be done twice a day, approximately 12 hours apart.
If you don’t want to wait until the kids are fully weaned to start milking, after 4–6 weeks you can remove the kids at night, milk the doe once a day in the morning and return the kids to her to nurse during the day. Make sure the kids are getting enough milk to keep them healthy and growing.
Outdoor Equipment Needed:
- Milk pail
- Strip cup
- Iodine
- Dixie cup
- Washrag with warm water and a dash of castile soap
The milking routine can be very individualistic from farm to farm. This is what we do with our girls and it has worked thus far. But, I encourage you to research different milking methods.
Find a routine with which you feel comfortable. Sanitation is very, very important when milking. You have to decide what practices you feel safe with and be consistent, both for the health of your doe and the integrity of the milk you will be consuming.
Our Routine
(This is not an instructional, just an example of what we do with our animals and milk.)
We milk at 8:00 AM and 8:00 PM.
The Milk Pail
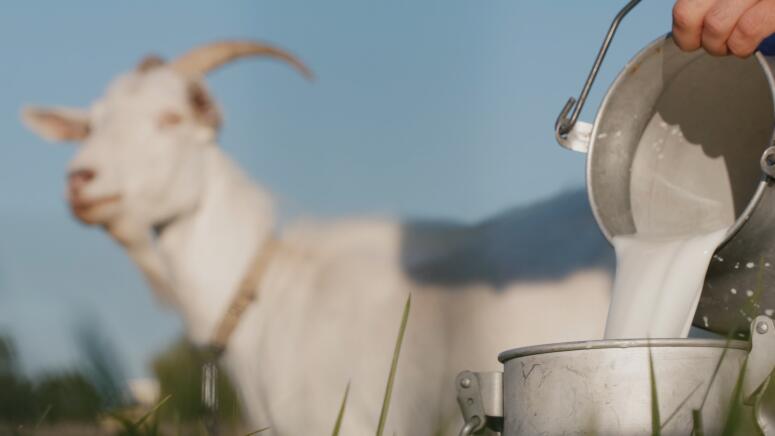
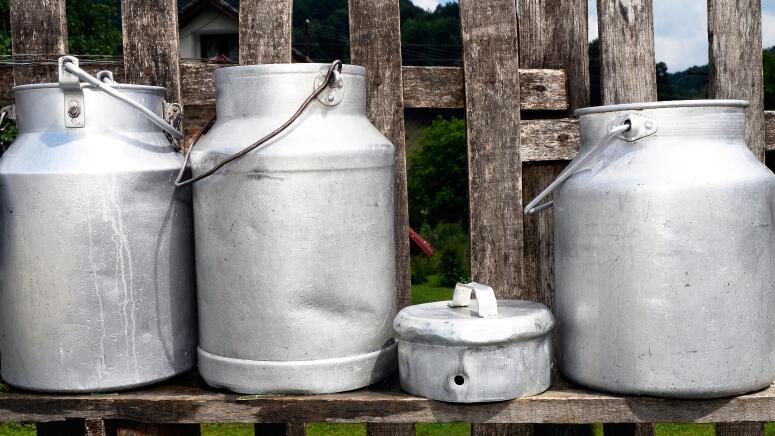
We use a 1-gallon stainless steel milk pail with a snug-fitting lid. This smaller pail is designed to fit underneath a goat. The lid keeps the milk clean between goats and while carrying the pail from the barn to the house.
I store our clean milk pail in the freezer. The faster you can chill the milk, the better-tasting and fresher it will be. Milking into an ice-cold milk pail lowers the temperature rapidly until I can get the milk into the house. The longer the milk sits out, the more “goaty” it will taste. Our milk is very sweet and hardly discernable from cow’s milk.

Strip Cup
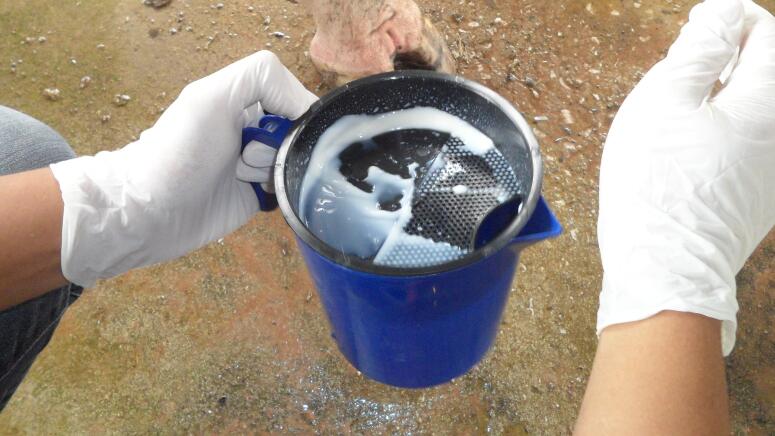
The strip cup is a small metal cup with a lid that contains a fine-mesh strainer. This is meant to check for lumps or abnormalities in the milk.
Iodine
We use iodine as a teat dip. The teat forms a wax cap that prevents bacteria from entering between milking or nursing. Kid saliva has antibacterial properties that naturally protect the teat until the wax cap forms again. The iodine replicates the kid saliva.
Dixie Cup
To hold the iodine. The small cup is the perfect size for a goat teat.
Washrag and Soap
We use warm soapy water to wash down our girls’ udders. We also wash down the inner leg, where the teat rests. Castile soap is a nice gentle soap that moisturizes as it cleans. I have a small pail with a handle that I squirt a bit of soap into, fill halfway with warm water and then throw in a rag kept only for milking.
In the house, I gather the milk pail, the strip cup, a couple of Dixie cups, and the bucket of warm water and then head out to the barn. I set the supplies down on a small table we have in the barn next to the stanchion.
I fill the feed bucket on the stanchion with grain and let the first doe out.
She happily gets on the milk stand and begins eating. I secure her head in the stanchion collar. Most of our goats will stay put without the collar, but it’s a nice reassurance.
I wash her teats and udders down with the washrag and then wipe my hands.
Milking is done by placing the thumb and forefinger together and pinching the top of the teat, where it meets the bulge of the udder. These two fingers trap the milk in the teat, preventing it from moving back into the udder when the teat is squeezed. Then, with the rest of your fingers, work the milk out of the teat. It takes some practice and a bit of forearm strength, but once you get it you’ll be surprised at how quickly you can empty out your goat.
I sometimes massage her udders a bit before milking. This helps release her milk. Kids will “bump” the udder with their heads/noses to encourage the same.
The first few squirts from each teat should go into the strip cup. I’m looking for clots, discoloration, blood or any other abnormalities which might be a sign of mastitis (more about that later). If everything checks out, I continue milking her into the milk pail. I always milk out our does completely until the teat is limp, the udder is empty and I can’t get any more milk from her.
- I place the lid on the milk pail and set it on the table so it’s ready for the next goat.
- Then I pour a small amount of iodine into a Dixie cup and dip each teat.
- I release her head from the collar and she’s returned to her pen.
- I repeat this process with all our goats that are in milk.

Indoor Supplies Needed
- Stainless steel milk funnel with a metal fitting strainer
- Paper milk filter
- Wide-mouth Mason jar (we use the 1/2 gallon size)
- Jar lid (we use white plastic lids)
- Wax pencil
When all the goats are milked, I immediately gather up the dirty pail and rag, the strip cup, and the milk pail and bring them inside. The strip cup and washrag get dumped into the laundry tub to be washed in a moment.
I wash my hands and fit a paper milk strainer into the stainless steel milk funnel. Then the steel sieve is pressed down into the bottom of the funnel, sealing the paper in place. The funnel gets placed over a 1/2-gallon Mason jar.
I pour the milk through to strain out any dirt, loose hairs, etc. Keeping your does’ udders shaved will help reduce the amount of debris in the milk. Once strained, I mark a plastic lid with the date using the wax pencil. The wax washes off in the dishwasher.
I then move the Mason jar full of milk to the freezer to cool rapidly and set the oven timer for one hour. While the milk is cooling, I wash all the milking supplies so they are ready for the next milking 12 hours later.
When the hour is up, I move the milk from the freezer to the fridge.
Pasteurizing
Pasteurizing is the great debate nowadays as the battle for raw milk rights marches forward. Many people who keep goats and other dairy animals do so because they want to enjoy the added health benefits of raw milk.
Pasteurizing kills the bad bacteria in milk, but it also kills the beneficial bacteria and other micronutrients. It is a personal choice that should be researched and considered along with your other milking sanitation practices.
Udder Care
Keeping you does’ udders and teats healthy is very important both for their comfort and for the quality of the milk. Keep udders shaved to prevent hairs from being pulled during milking. This also keeps the milk more sanitary.
Check teats for chafing as well as nicks and cuts from overzealous kids. For mild irritations, I coat the teat in coconut oil. For more serious injuries, consult your veterinarian.
Check for hard udders or teats, swelling, or feverish udders. Clots in the strip cup are also a sign that something might be off with your doe. These might be signs of infection, and in our herd we would test for mastitis.
Mastitis
Mastitis is an infection of the udder. If left untreated it can be very painful and even life-threatening for your goat. In some cases, the udder or part of the udder must be surgically removed.
Thankfully, if caught in time it can usually be successfully treated with antibiotics and/or frequent milkings. Compresses can also be used to soothe a goat in distress.
There is also a mastitis test kit that can help you determine whether your goat might need medical care. The California Mastitis Test is a kit that is actually meant for cows. Because of this, it does not work 100% of the time on goats, but we choose to have it in our arsenal as an added reassurance.
The kit tests for white blood cells in the milk. It comes with a paddle of four shallow cups and a concentrated solution. You dilute the solution, fill the cups to the appropriate line, and then milk the doe into the cups.
The solution gels according to the amount of white blood cells in the milk. Lots of gelling might indicate an infection. Talk to your vet to see if a CMT kit is right for your herd.
Other Things to Discuss with Your Veterinarian:
It’s also wise to keep up with annual health screenings for does in milk. Consult your vet regarding testing for CL and CAE in your milking herd. Ask your vet about an appropriate worming regimen for does in milk. Find a safe wormer and find out if it necessitates a withdrawal period during which the milk should be disposed of.
Manna Pro® offers Positive Pellet® Goat Dewormer, a safe dewormer formulated for goats of all classes. Positive Pellet is fed as a top-dress, which eliminates the stress of shots and drenches. There’s also another fabulous benefit to it in that there is no milk discard requirement: Does can be milked while feeding on Positive Pellet.
Milking is incredible if you think about it. The animal possesses thousands of years of instinct telling her that the milk her body makes is meant to nourish her growing baby, yet she willingly shares it with us in exchange for a bit of grain. Remarkable!
Author Profile: Jennifer Sartell
Jennifer Sartell is the primary caretaker of all animals on her and her husband’s farm in Fenton, MI. With a passion for living a simple life, Jennifer enjoys creating art, taking in nature, raising animals and has developed a deep appreciation for homesteading. Jennifer and her husband, Zach, currently raise goats and poultry.
Her vast amount of experience on the farm includes, but is not limited to: milking, shearing, hoof trimming, vaccine administration, assisting in animal births, dehorning, egg collecting, chick and turkey hatching, feeding, watering, etc. She can also cook a mean farm-to-table meal and when the day is done has documented and photographed their day on the farm.
More Blogs by Jennifer Sartell
- https://www.mannapro.com/homestead/caring-for-pregnant-does-part-2
- https://www.mannapro.com/homestead/caring-for-pregnant-does-part-1
- https://www.mannapro.com/homestead/preparing-caring-for-goats-in-winter
- https://www.mannapro.com/homestead/dairygoatbreeds
- https://www.mannapro.com/homestead/preparing-the-kidding-stall-part-2
- https://www.mannapro.com/homestead/a-guide-to-buying-a-new-goat
- https://www.mannapro.com/homestead/raising-kids-dehorning-wethering
- https://www.mannapro.com/homestead/milking-a-goat
- https://www.mannapro.com/homestead/raising-fiber-goats-101
- https://www.mannapro.com/homestead/hoof-care-for-goats
- https://www.mannapro.com/homestead/putting-together-a-goat-birthing-kit
- https://www.mannapro.com/homestead/preparing-the-kidding-stall-part-1
- https://www.mannapro.com/homestead/breaking-down-the-goat-diet
- https://www.mannapro.com/homestead/birthing-goat-kids
- https://www.mannapro.com/homestead/dealing-with-goat-scours
- https://www.mannapro.com/homestead/feeding-baking-soda-to-your-goats
- https://www.mannapro.com/homestead/pros-cons-and-facts-about-raising-turkeys
- https://www.mannapro.com/homestead/best-breeds-for-raising-chickens-with-children
- https://www.mannapro.com/homestead/a-guide-to-small-goat-breeds
Feature Products

